All summer I’ve been dragging myself past my art studio, ignoring the call of a score of uncompleted projects, stacks of unpaid bills and family paperwork, unpacked orders from my shop, and a thick layer of dust covering the entire mess. When September rolled around, family members headed back to school, and I took advantage of my few hours of free time to sit, breathe, walk, and contemplate my myriad faults. One of those being my inability to complete anything in my studio for the entire previous year. I’m one of those people who is incapable of creating in a messy space so before I could finish any of my art, I knew I would have to clean up my wreck of a room.
When stuck in a rut, clean, tidy, and organize. This is something I learned since becoming a parent. For me, a spotless, orderly space is a happy space. So I commenced the “Big Spring Clean Up.” Yes, it’s fall. But I should have done this last spring.
Here are some of the things I’ve learned about organizing my studio and keeping it clean.
Finish up old projects.
Nothing is more draining than walking into your studio to be faced with a bunch of half-finished projects. And nothing is more energizing than completing a project that has been hanging around your studio for months on end. If you can’t finish the project in a timely fashion, put it away, out of sight, in a bin marked “projects to complete” or some such. Give yourself permission to move on to new work.
Below is a photo of some projects that I either did not finish or lost interest in. I swept the entire mess into a plastic storage bin from Target and shoved it into an armoire, out of sight. I labelled it “Works in Progress,” which is more positive than “Unfinished Projects.”
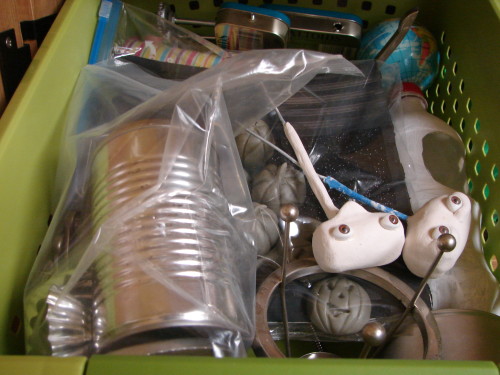
I was so relieved to have those odds and ends off my work table! Which brings me to my next tip…
Clear off all horizontal surfaces.
Commit to keeping half of them clear. The other half can hold current work. Once the unfinished work starts to spill over onto your “clear” areas, it’s time to finish some stuff up. Again, if you can’t complete something in a few weeks, put it away and take it out another day. Sometimes a little distance from your work is just what you need to figure out what that piece needs to finish it off.
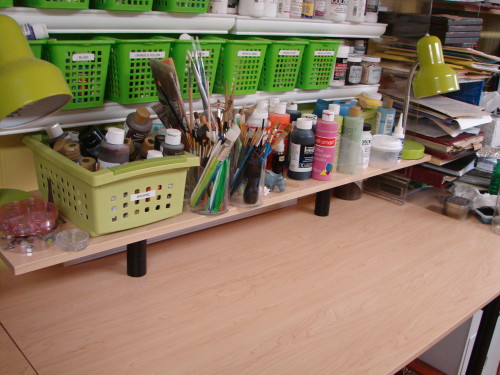
Having a clear work surface gives your creative energy freedom to roam and innovate.
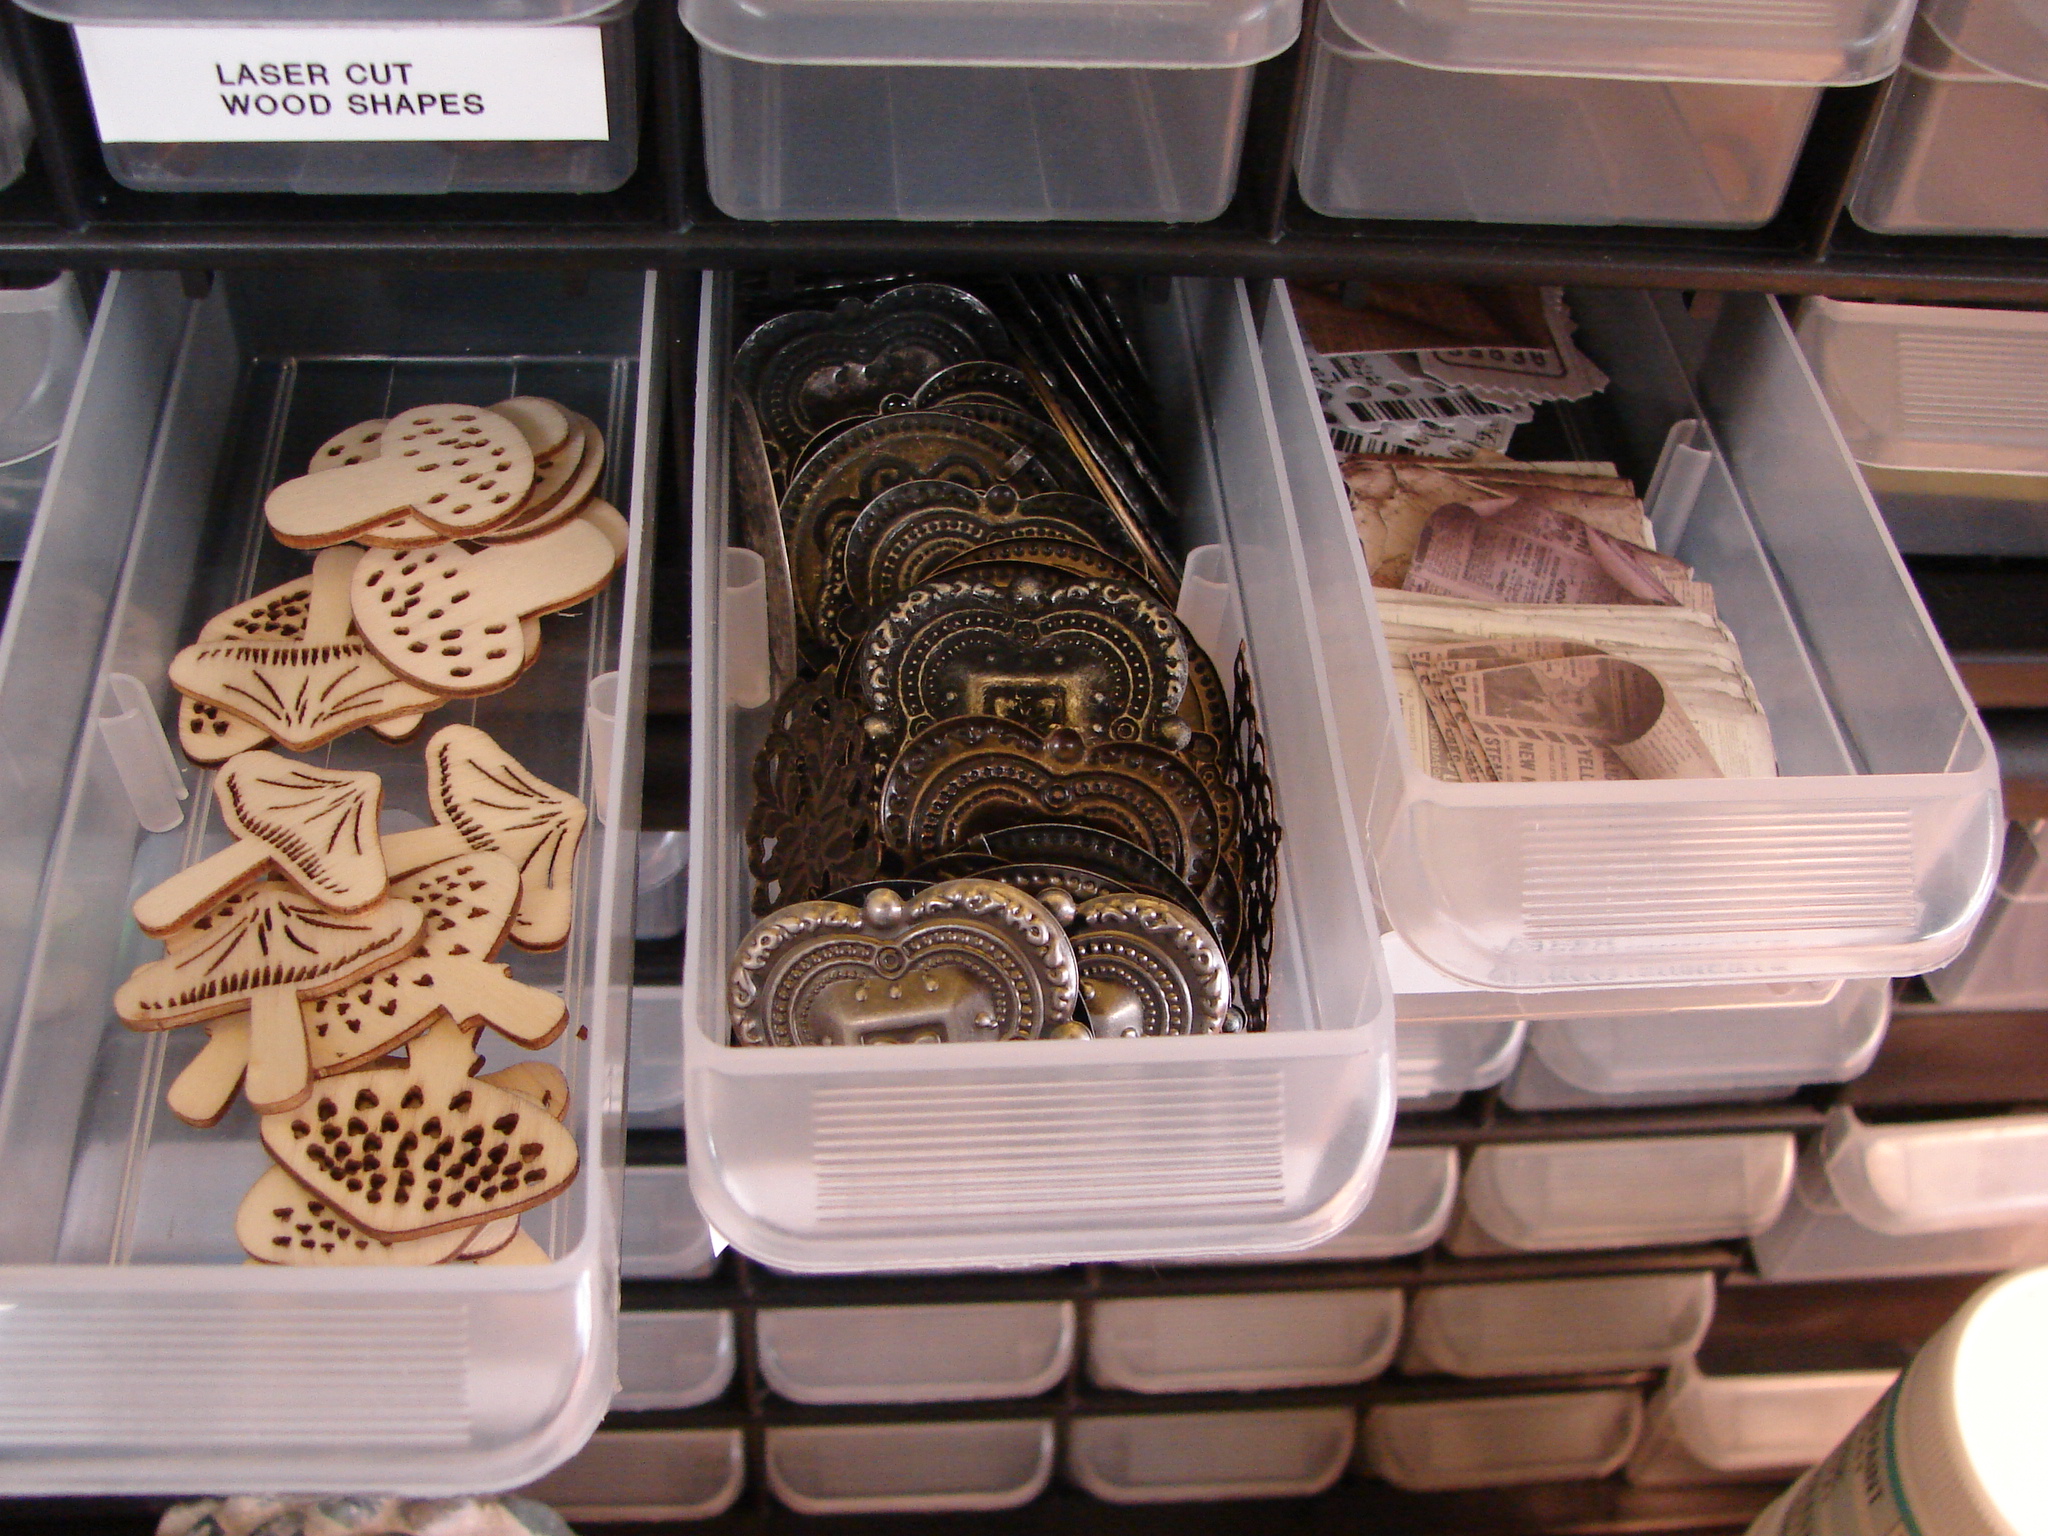
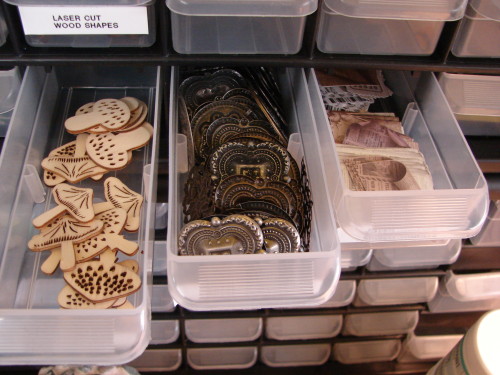
Group like with like.
Put all your glues together, put all your paints together, put all your tools together, etc. Find appropriate sized bins or other storage to contain these items and then label them. My labeler is one of my favorite tools!
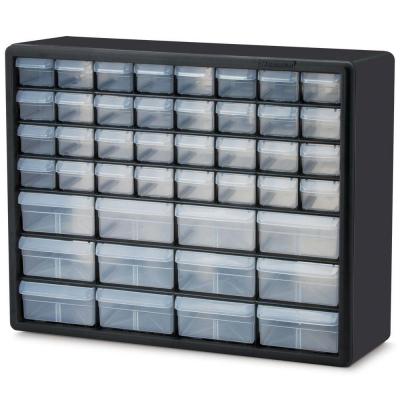
In the photo below, you see my office supply drawer, which I have actually moved out of the studio and into an antique secretary in another room of the house. This drawer is accessible to the whole family and frees up some space in my studio, a win-win for everyone. I organized it using dollar store bins, a cheap and easy way to create order.

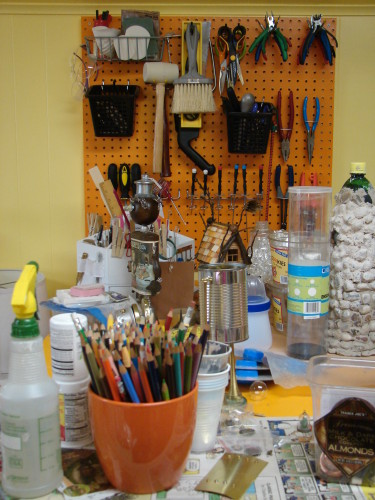
Use your vertical space. Peg board is wonderful for hanging not only tools, but ribbon, paper towels, paint, etc. Hang storage containers on walls to corral small parts. Add shelves to store paint, rags, brushes, and other supplies, even your finished artwork.
Create work zones.
In my studio I have a computer. Nearby, I keep my bills, my printer and paper, my blank disks and DVD sleeves, calculator, shipping labels, scale, label maker, office supplies, etc. I have a painting zone with my paints, painting mediums, sealers, gloves, glitter, alcohol inks, daubers, brushes, etc. I have a tool bench where I do “dirty” work such as drilling, sawing, metal cutting, gluing, and clay work. Beside the tool bench I hung a pegboard with my screwdrivers, pliers, wire cutters, hammers, rasps, etc. They are in convenient and easy reach when I need them. An inventory and shipping zone is located near the computer and is stocked with packing tape, mailing boxes, tissue paper, and other supplies.
Use it and replace it.
Get into the habit of putting away your tools just after using them. Always complete the action. Don’t pile stuff up to put it away later. Get the tool off the wall, use the tool, and then put the tool back. This habit will go a long way toward keeping not only your studio but your entire house clean.
Purge unused supplies.
If you’re like me, the idea of getting rid of any of your carefully collected art supplies gives you heart palpitations. Don’t worry! I am not suggesting you actually throw anything away. But if you have genres of art that you are no longer creating in, you may be able to pass the supplies along to someone else – perhaps to a preschool or a neighbor. If you absolutely cannot part with anything (and I put myself in this category) do put the unneeded supplies in storage until the day you find a renewed interest in that type of artwork. For example, I went through a beading phase and amassed a huge hoard of beautiful beads. But now I am totally through with beading and I doubt I’ll ever go back to it. But who knows, perhaps my daughter may want to make a necklace someday. So I packed up the beads and put them in our crawl space in plastic storage boxes. They are available if I need them but out of the way of my daily creating. I could also sell them on eBay or Etsy if I wanted to make a little money back. (To buy more supplies, of course.)
Items that you can part with can be donated to your children’s art stash or to preschools and elementary schools. Or just drop it off at Goodwill!
Inspiration Board
If you need some inspiration to get you started, please look over my Pinterest board, “The Organized Art Studio,” for lots of clever ideas.